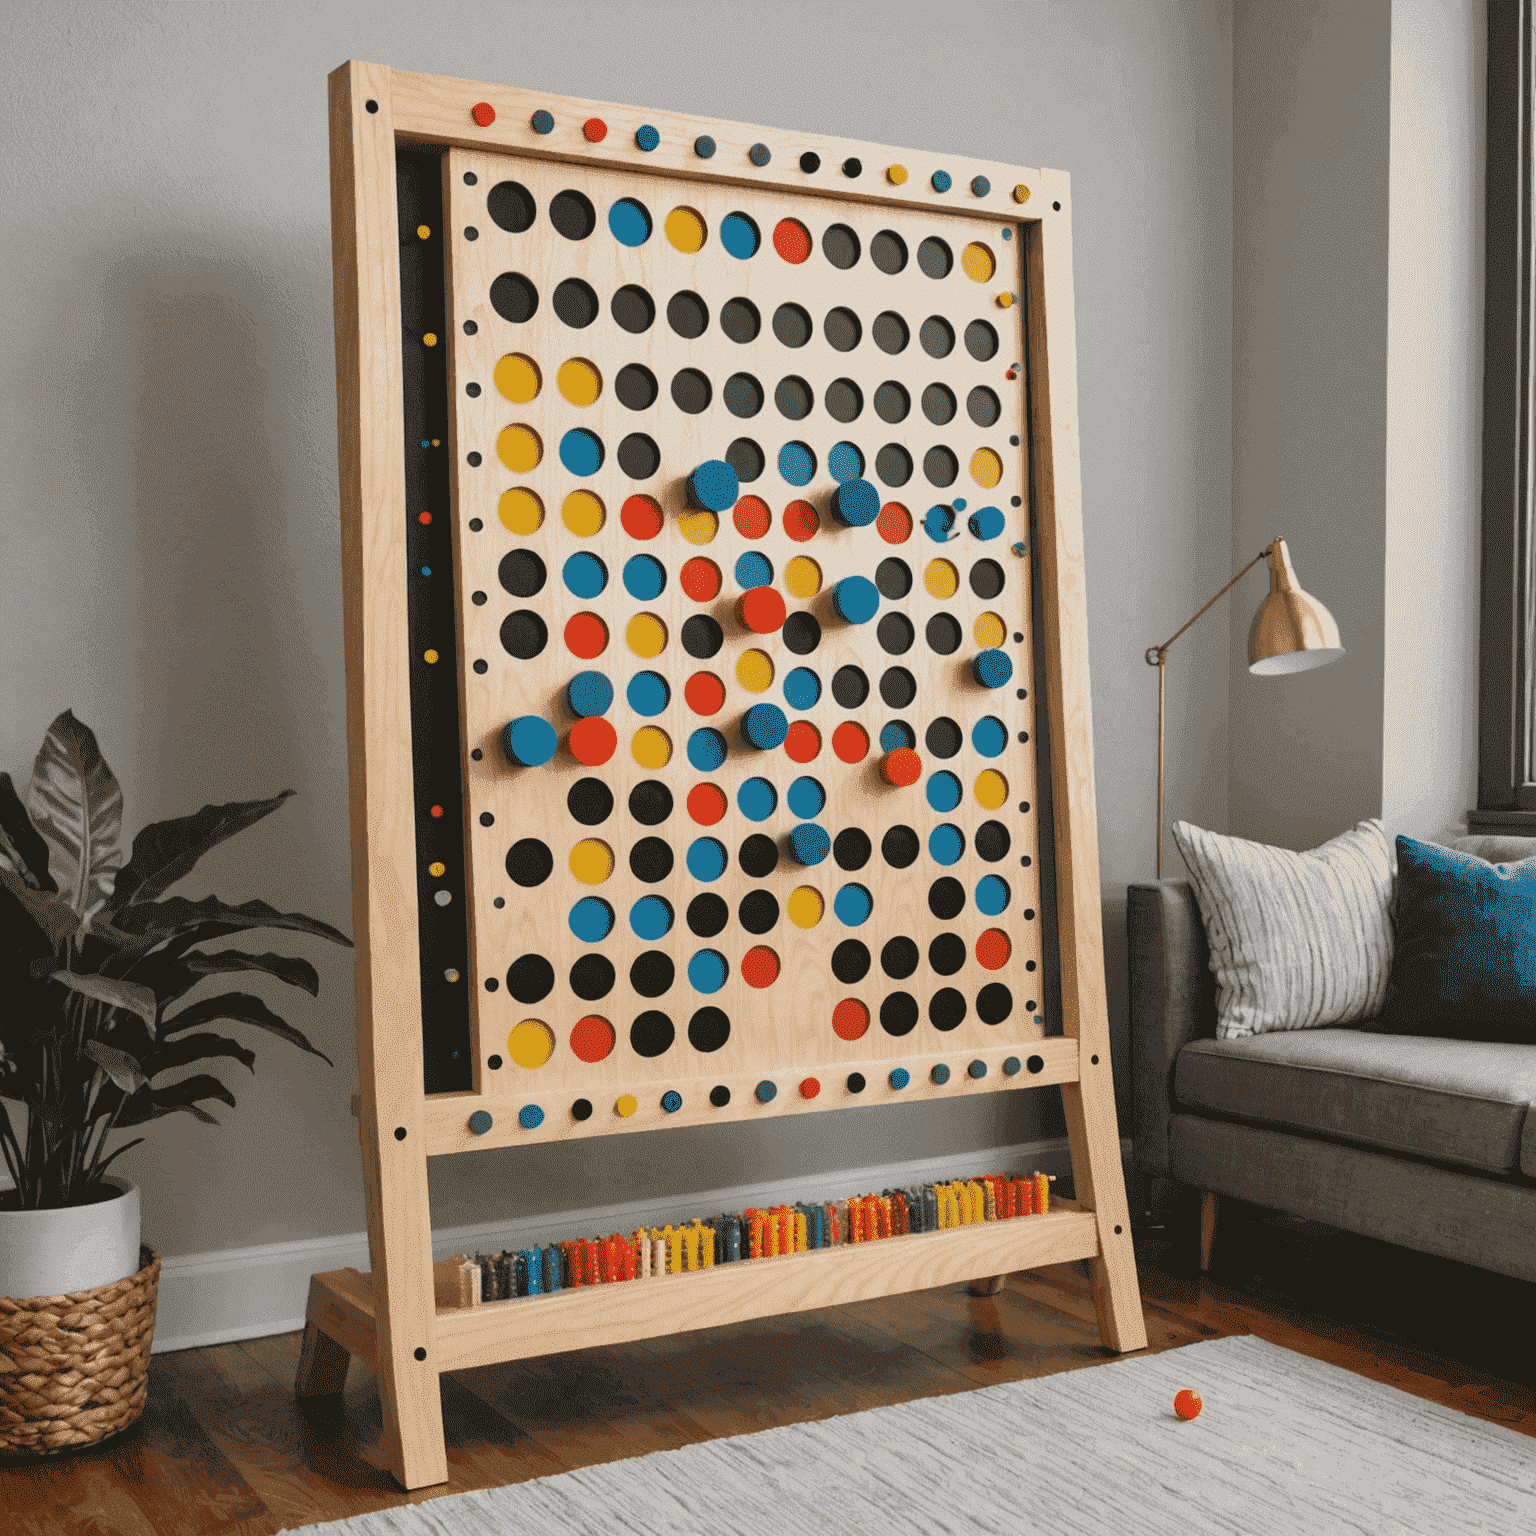
DIY Plinko: Build Your Own Board at Home

Create your own Plinko board for exciting family game nights with this step-by-step guide. Using readily available materials, you can craft a custom game that will provide hours of entertainment.
Materials Needed:
- Large wooden board (4' x 2' recommended)
- Wooden dowels (1/2" diameter)
- Wood glue
- Drill with 1/2" bit
- Sandpaper
- Paint or wood stain (optional)
- Ping pong balls
- Thin wooden strips for dividers
Step-by-Step Instructions:
1. Prepare the Board
Sand your wooden board to ensure a smooth surface. If desired, apply paint or wood stain for a polished look.
2. Mark Peg Positions
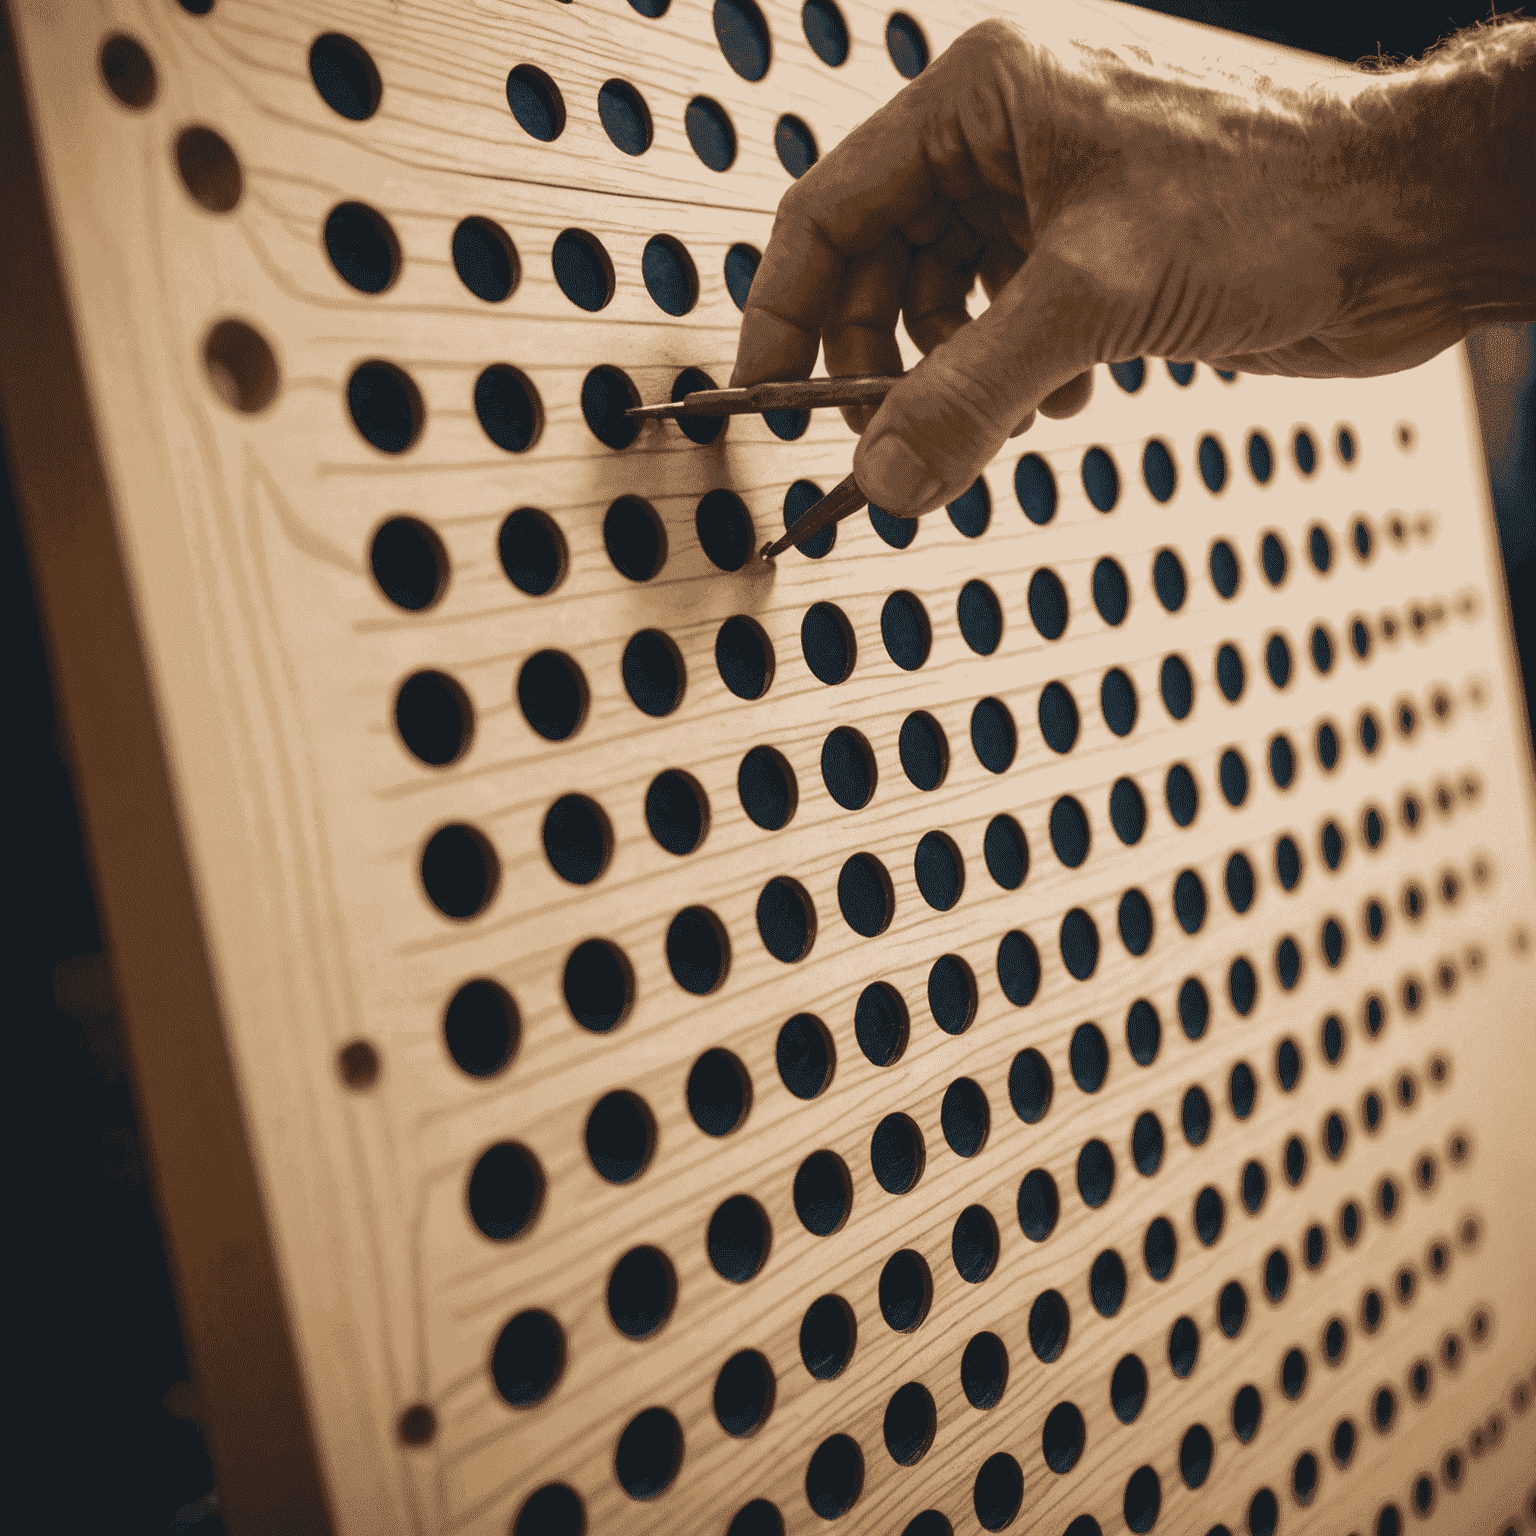
Using a pencil and ruler, mark out a triangular grid for your pegs. Start with wider spacing at the top, gradually decreasing towards the bottom.
3. Drill Holes
Carefully drill holes at each marked position using your 1/2" drill bit.

4. Insert Pegs
Cut your wooden dowels into 2" lengths. Apply wood glue to each peg and insert them into the drilled holes.
5. Create Dividers
At the bottom of the board, attach thin wooden strips to create scoring compartments.
6. Final Touches
Once the glue is dry, give your board a final sand. You may want to add a coat of clear varnish for durability.

Playing Your DIY Plinko
Drop ping pong balls from the top of the board and watch as they bounce their way down through the pegs. The compartment where the ball lands determines the score. Create your own scoring system to add excitement to the game.
Variations
Consider these fun twists to your homemade Plinko:
- Use different colored ping pong balls for multi-player games
- Add LED lights around the pegs for a glowing night-time version
- Create themed designs on your board related to holidays or special occasions
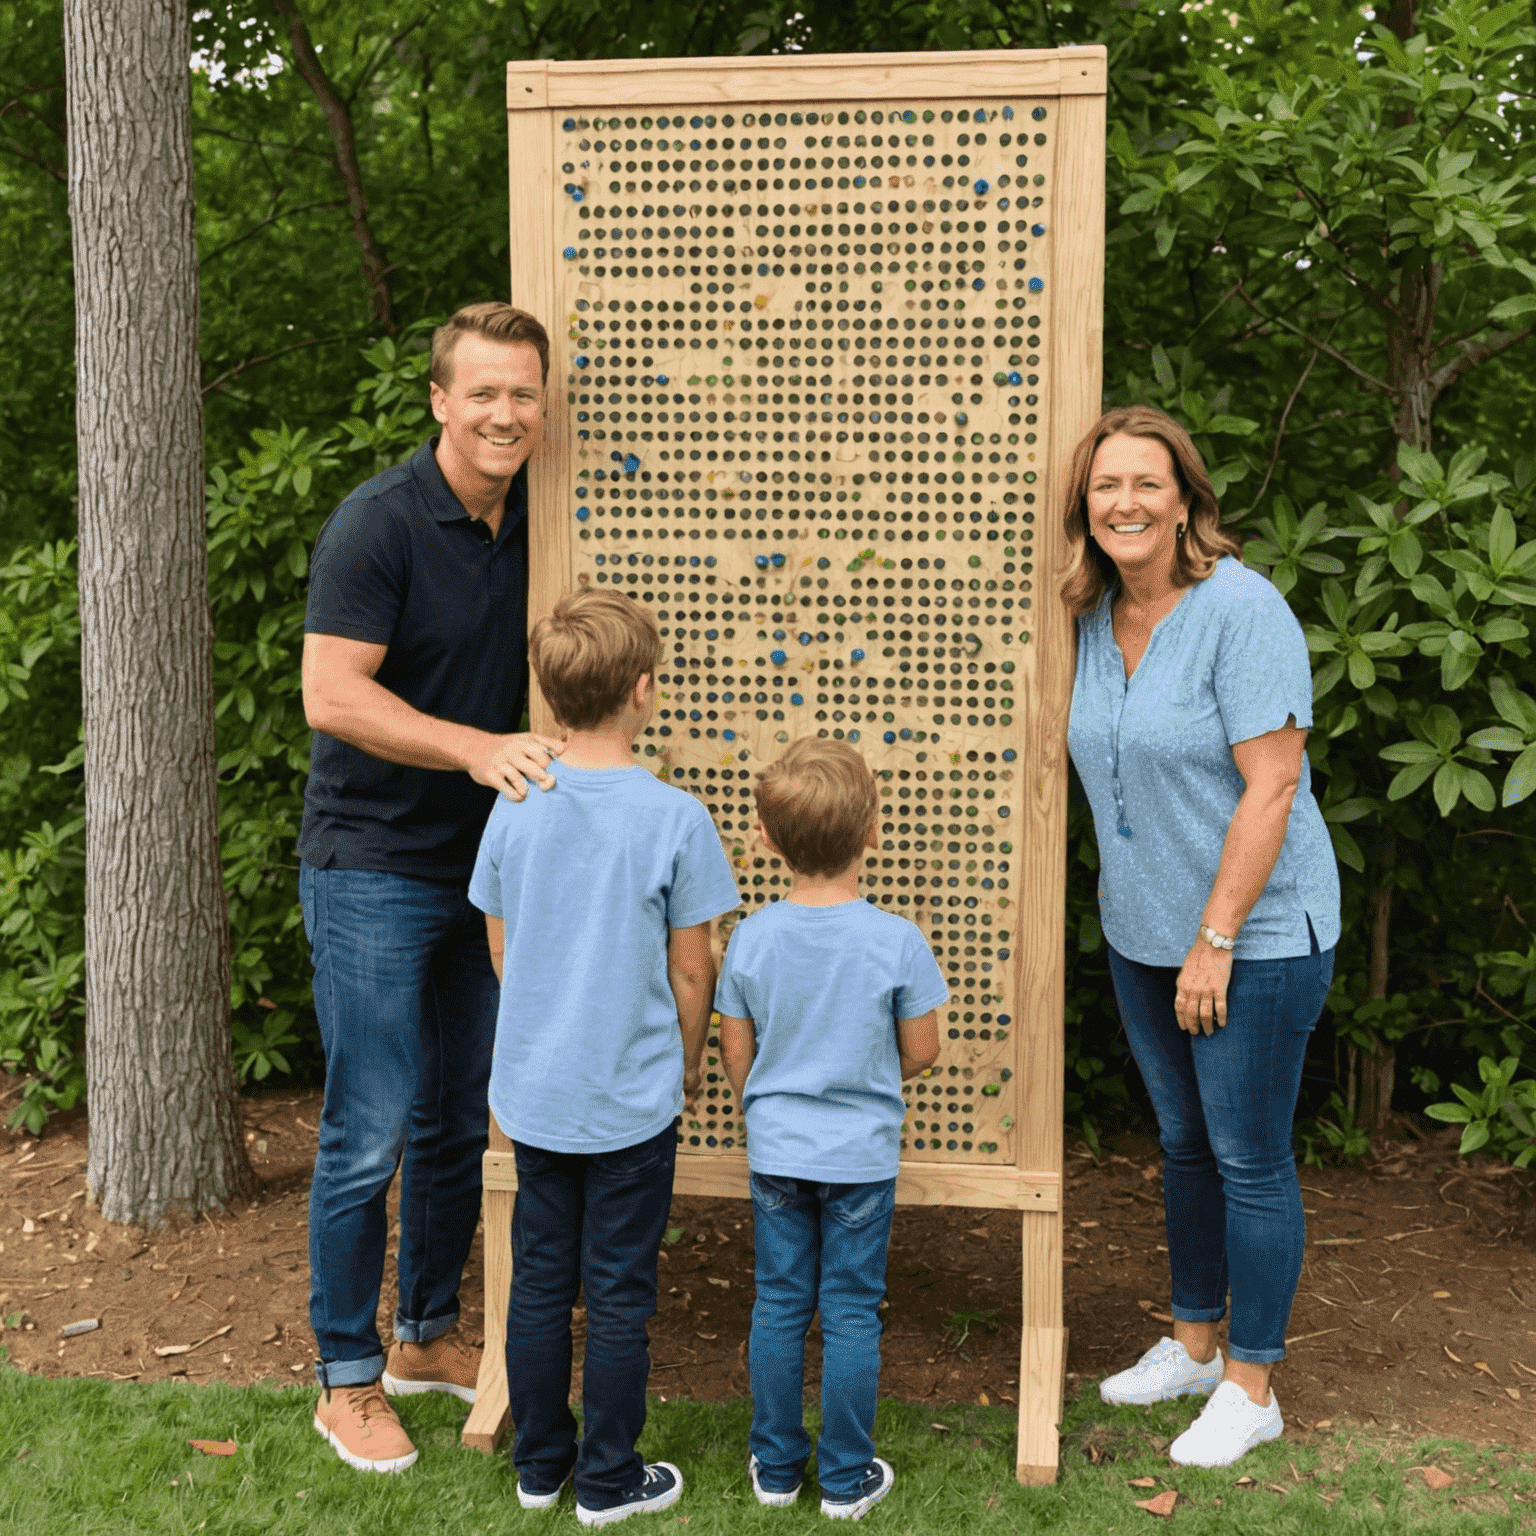
Building your own Plinko board is a rewarding project that results in a unique, engaging game for all ages. It's perfect for family gatherings, parties, or as a creative way to spend quality time together. Enjoy your custom-made board game and the memories you'll create playing it!